


First, I visited my client's home and we talked through her order and we looked at the walls she was interested in changing. Then, we worked on a visual plan for the walls. This particular space was in the hallway and I didn't have a wide enough lens to grab a picture of the wall for my handy app so I'm using a generic wall here and after we discussed the colors that would look good for the wall and in her home, we made the plan for the grouping to look like the image below.

I ordered the frames and once they came in, I got to work on making our template for the wall. I got all my supplies together:
measuring stick
craft paper
scissors
pencil
permanent marker
frames

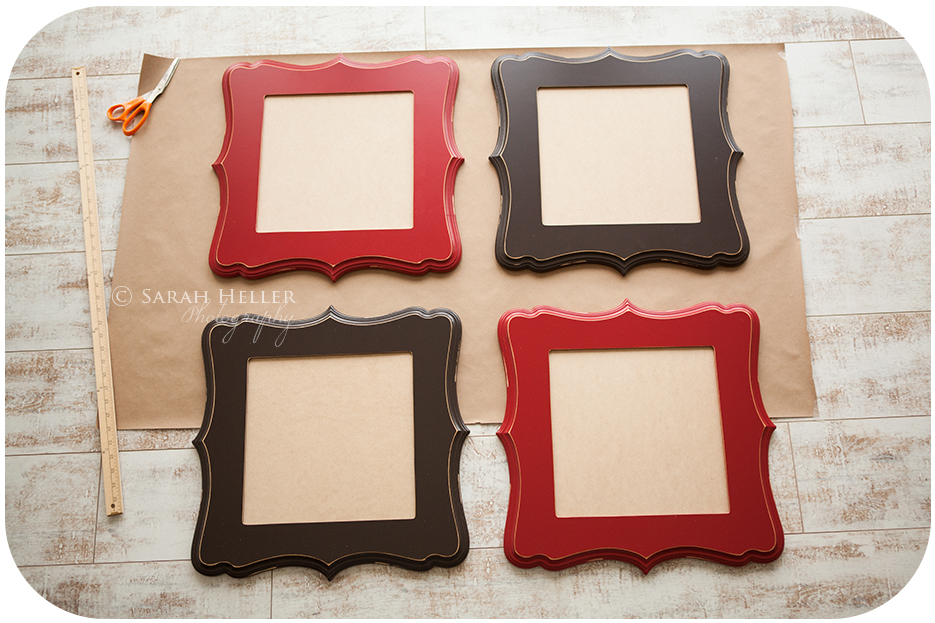
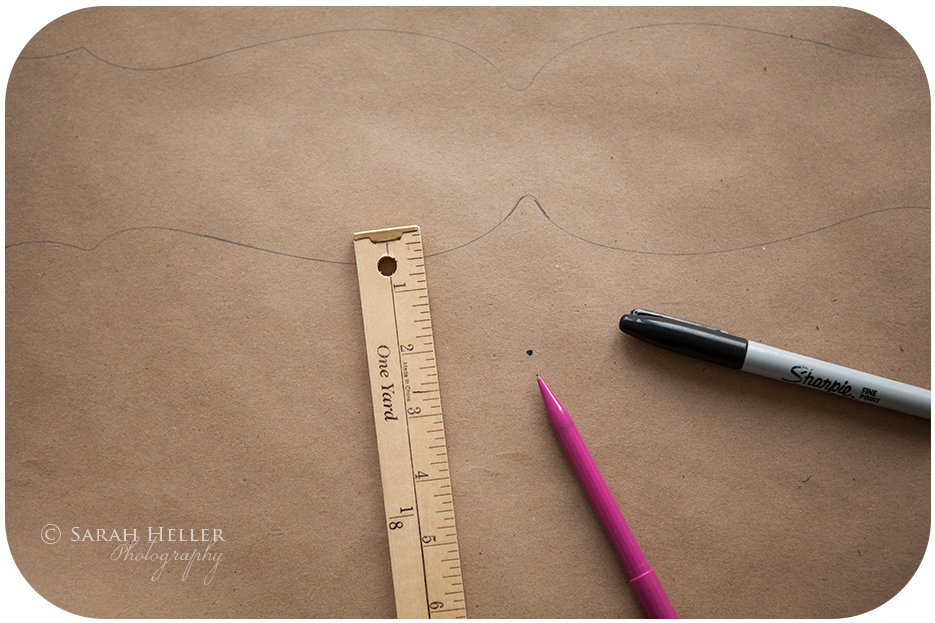
I laid the frames out on top of craft paper and cut of a piece of paper large enough for them to fit on it. My paper is not wide enough to cover the height of them but that is okay since I just need to mark where the nail holes need to be. If you have a larger wall grouping, you can find wider paper or I would just suggest taping another sheet to the bottom of the top sheet so it is twice as wide.
Now you can start to refine the grouping and measure to make sure that are evenly placed. On these frames, I measured from the inner part of the frame opening so I could get a straight edge. Next, I traced around the edge of the frames with a pencil. It will help later when you are placing the template on the wall to see an outline of what will be there so you can get things lined up correctly there too.

Then, it is time to measure the distance from the top of the frame to the hole for hanging. This is a very important part so you want to make sure and get the correct measurement. I also added a few more marks: a line between the top nail hole marks so I could use it later to level the template on the wall and a mark in the center of the frames for a center reference point.
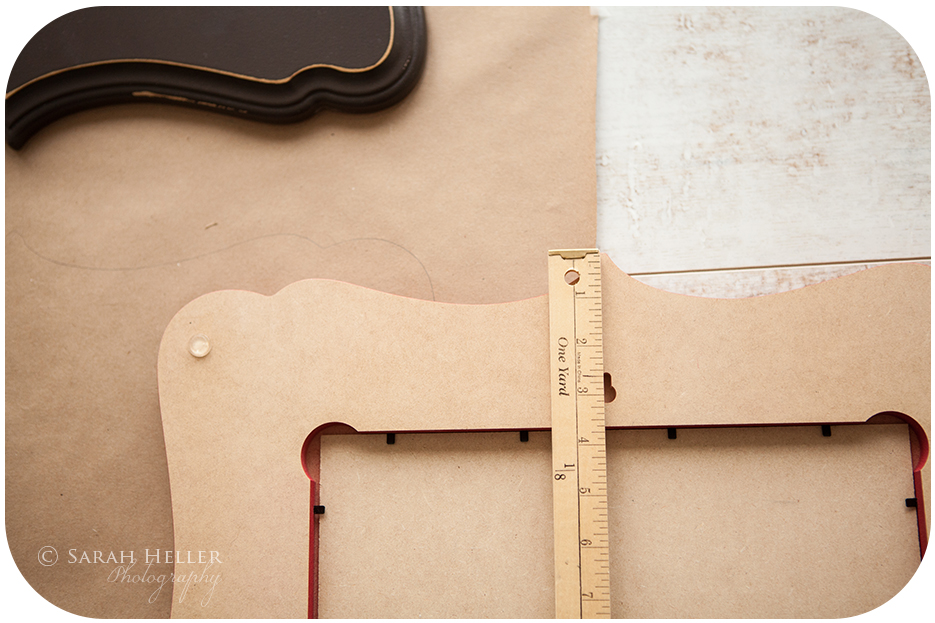
I then went to my paper and used the tracing marks to measure down the distance to the hanging hole and mark it with the permanent marker so it shows up well.
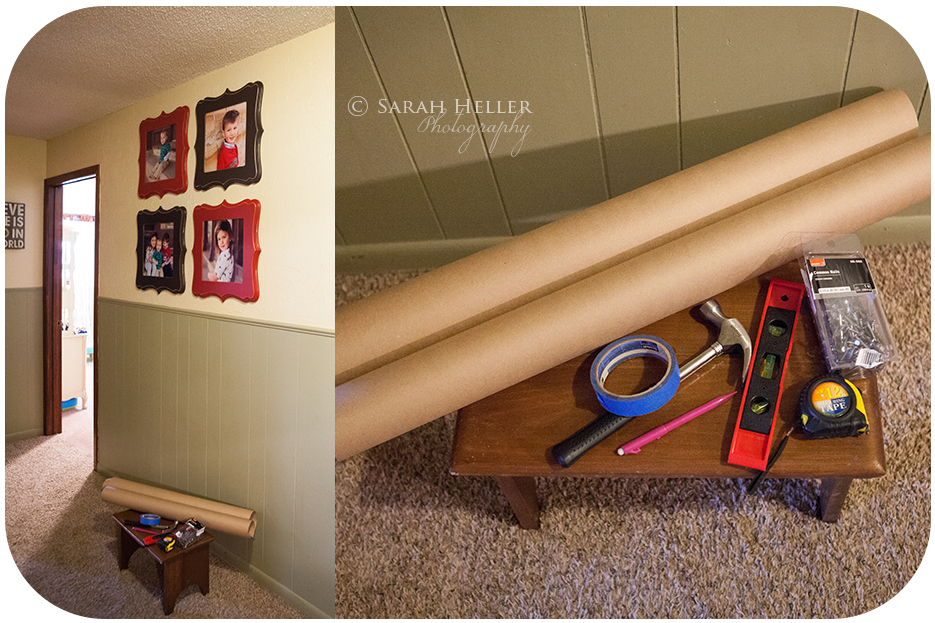
Now we are ready to hang the wall grouping. I brought my hammer, measuring tape, level, pencil, painters tape, frames and the paper template. It really helps to have an extra set of hands with this process to get things straight, lined up, and secure.
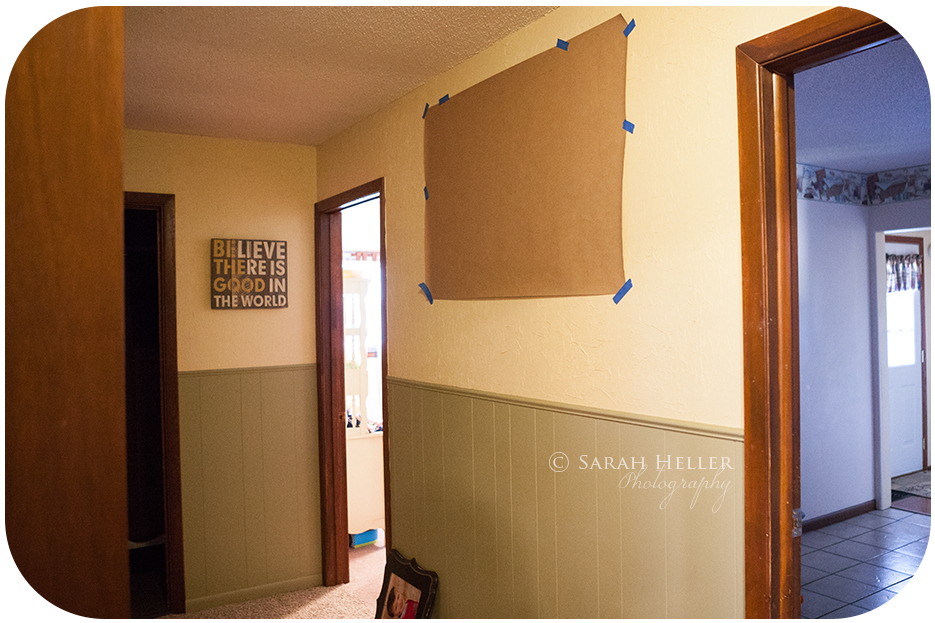
I used the horizontal line between the top two holes to level the template. And, we measured the wall to find the center and used the center on the template to line it up. We also held a frame up to the template to see where the bottom of the frame would be since my paper was not wide enough and since we were working with the upper part of the wall and did not want it to hit the wood trim. After we had it all lined up vertically and horizontally, we used the painter's tape to secure it for the next step.

Next, using the hammer and nails (many options here to hang frames but for these frames, textured wall, and the type of hanger hole, we decided to go with a common nail), I nailed into the wall just enough to mark it under the paper and removed the nails. Then, we removed the paper and hammered the nails in properly. And, NOW for the most exciting part! We hung the frames on the wall! Beautiful and simple!
I hope you enjoyed this tutorial on a simple and accurate way to hang a wall grouping! With a little extra time and effort on the front end, it makes hanging a breeze! I am excited to be able to help my clients achieve their vision and create something beautiful in their homes! I offer a complimentary design consultation with my clients. It is helpful to do them in your home, but we can also do it over the phone or email as well. Send me a picture of your wall and space and we can get started on a beautiful wall grouping for your home!
Ready to schedule a session with Sarah Heller Photography? Please CONTACT me today!
I ordered the frames and once they came in, I got to work on making our template for the wall. I got all my supplies together:
measuring stick
craft paper
scissors
pencil
permanent marker
frames
I laid the frames out on top of craft paper and cut of a piece of paper large enough for them to fit on it. My paper is not wide enough to cover the height of them but that is okay since I just need to mark where the nail holes need to be. If you have a larger wall grouping, you can find wider paper or I would just suggest taping another sheet to the bottom of the top sheet so it is twice as wide.
Now you can start to refine the grouping and measure to make sure that are evenly placed. On these frames, I measured from the inner part of the frame opening so I could get a straight edge. Next, I traced around the edge of the frames with a pencil. It will help later when you are placing the template on the wall to see an outline of what will be there so you can get things lined up correctly there too.
Then, it is time to measure the distance from the top of the frame to the hole for hanging. This is a very important part so you want to make sure and get the correct measurement. I also added a few more marks: a line between the top nail hole marks so I could use it later to level the template on the wall and a mark in the center of the frames for a center reference point.
I then went to my paper and used the tracing marks to measure down the distance to the hanging hole and mark it with the permanent marker so it shows up well.
Now we are ready to hang the wall grouping. I brought my hammer, measuring tape, level, pencil, painters tape, frames and the paper template. It really helps to have an extra set of hands with this process to get things straight, lined up, and secure.
I used the horizontal line between the top two holes to level the template. And, we measured the wall to find the center and used the center on the template to line it up. We also held a frame up to the template to see where the bottom of the frame would be since my paper was not wide enough and since we were working with the upper part of the wall and did not want it to hit the wood trim. After we had it all lined up vertically and horizontally, we used the painter's tape to secure it for the next step.
Next, using the hammer and nails (many options here to hang frames but for these frames, textured wall, and the type of hanger hole, we decided to go with a common nail), I nailed into the wall just enough to mark it under the paper and removed the nails. Then, we removed the paper and hammered the nails in properly. And, NOW for the most exciting part! We hung the frames on the wall! Beautiful and simple!
I hope you enjoyed this tutorial on a simple and accurate way to hang a wall grouping! With a little extra time and effort on the front end, it makes hanging a breeze! I am excited to be able to help my clients achieve their vision and create something beautiful in their homes! I offer a complimentary design consultation with my clients. It is helpful to do them in your home, but we can also do it over the phone or email as well. Send me a picture of your wall and space and we can get started on a beautiful wall grouping for your home!
Ready to schedule a session with Sarah Heller Photography? Please CONTACT me today!
0 comments:
Post a Comment